Image Brightness & Contrast Adjuster: Fix Dark or Flat Photos Instantly
Two of the most fundamental photo adjustments are also two of the most misunderstood. Brightness and contrast sound simple — one makes things lighter, the other makes things punchier — but knowing when to reach for each, and by how much, separates a good edit from a bad one.
The Tooladex Image Brightness & Contrast Adjuster lets you tune both in real time, directly in your browser. No upload, no account, no waiting. Upload your image, move the sliders, and download when it looks right.
🔦 What Is Brightness?
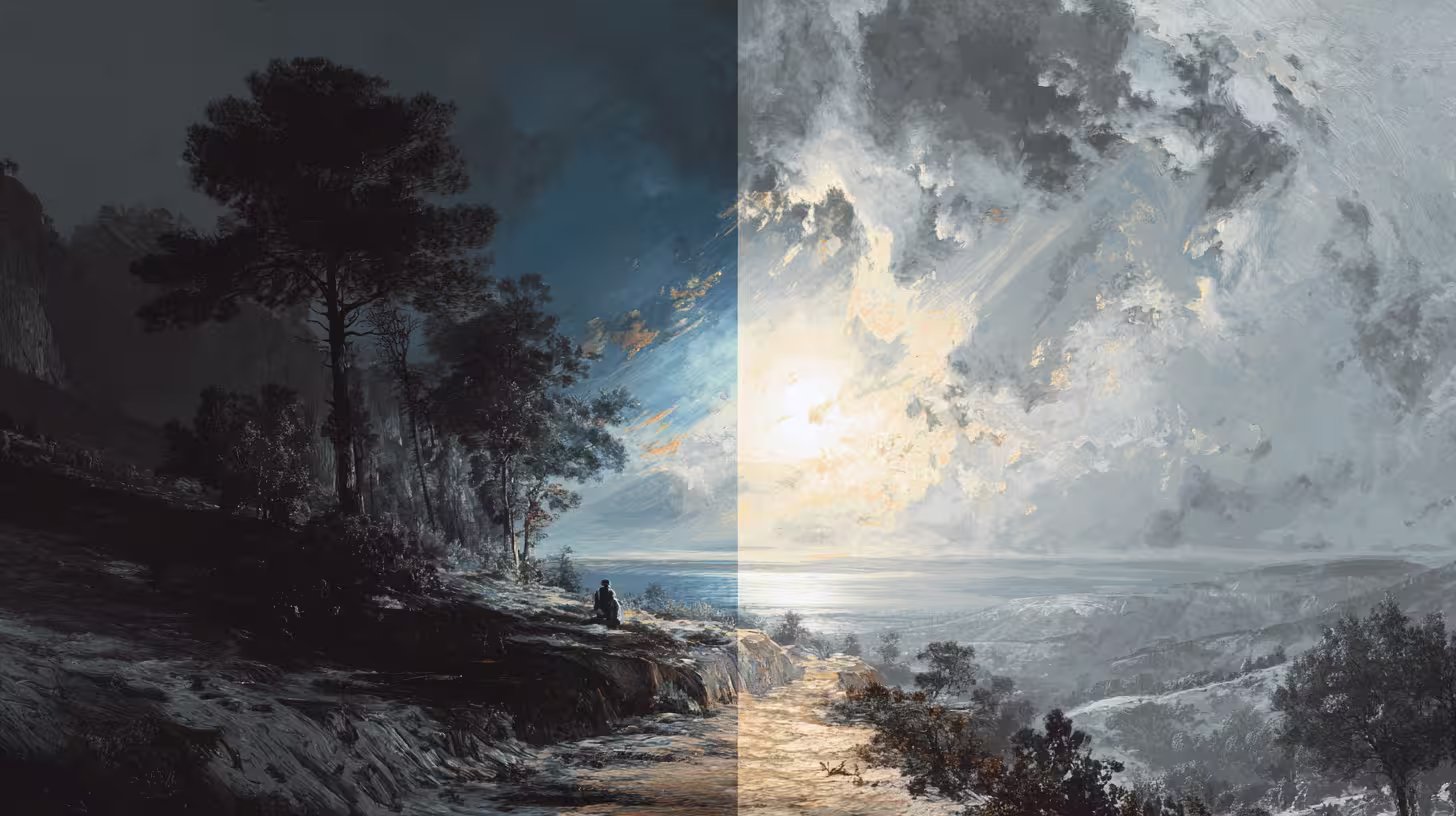
Brightness adds or subtracts a flat offset from every pixel in an image. If you increase brightness by 50, every red, green, and blue channel value gets +50 added to it (clamped at 255). If you decrease it by 50, every channel loses 50 (clamped at 0).
The result is uniform: the entire image shifts lighter or darker together. Dark shadows get slightly lighter, bright highlights get pushed even brighter. It’s the simplest possible tonal adjustment.
When to Increase Brightness
- Your photo was taken in low light and looks underexposed
- An image scanned from a document looks too dark
- You want a light, airy aesthetic
When to Decrease Brightness
- A photo looks washed out or overexposed
- You want a darker, moodier feel
- You need to reduce glare in bright areas
🎛️ What Is Contrast?
Contrast controls how spread out the pixel values are around the midpoint (128 on a 0–255 scale). The formula used here is the standard linear contrast:
factor = (259 × (c + 255)) / (255 × (259 - c))
pixel  = factor × (pixel − 128) + 128
Increasing contrast multiplies the distance of each pixel from the midpoint. Bright pixels get brighter; dark pixels get darker. The image looks punchy, vivid, and three-dimensional.
Decreasing contrast compresses pixel values towards the midpoint. The image looks flat, muted, and grey — useful for vintage effects or reducing the harshness of very high-contrast originals.
When to Increase Contrast
- The image looks flat, hazy, or lacks impact
- Colours appear dull and washed out
- You want a bold, graphic look
When to Decrease Contrast
- Harsh shadows and blown-out highlights dominate
- You want a faded, film-style aesthetic
- The image is too stark for its intended use
🔗 Using Brightness and Contrast Together
The most powerful edits combine both adjustments:
- Dark, flat photo — brightness +30, contrast +20
- Overexposed, washed out — brightness -20, contrast +30
- Hazy, foggy look — brightness -10, contrast +40
- Faded vintage style — brightness +15, contrast -30
- Dark with harsh shadows — brightness +20, contrast -15
A good rule of thumb: fix the overall exposure with brightness first, then use contrast to add punch or reduce harshness.
⚠️ Avoiding Clipping
The most common mistake with these adjustments is pushing them too far and causing clipping: pixels that were near white get forced to pure white (255), and pixels near black get forced to pure black (0). Detail in those areas is lost permanently in the output file.
Signs of clipping:
- Large areas of flat white with no detail (highlight clipping)
- Large areas of flat black with no detail (shadow clipping)
- Colours look artificially saturated or neon
Recommendation: keep adjustments moderate — typically within ±50 for brightness and ±40 for contrast. Preview the result carefully before downloading.
📁 Output Format Guide
PNG — Best Quality
Every pixel is preserved exactly. No compression artifacts. Use PNG when you’ll edit the image again, need transparency, or require lossless output.
JPG — Smallest File Size
Lossy compression — some fine detail is traded for a much smaller file. Ideal for photos you’re sharing on social media, embedding in documents, or sending by email. Use the quality slider to balance sharpness and size.
WebP — Modern Web Use
Smaller than both PNG and JPG at equivalent visual quality. Supports transparency. The best choice for images going onto modern websites or apps.
🔒 Privacy First
All processing happens locally in your browser using the HTML5 Canvas API. Your images are never uploaded to any server.
Image Brightness & Contrast
Adjust the brightness and contrast of any image in your browser. Fine-tune highlights and shadows with live preview, then download as PNG, JPG, or WebP.